- New & Trending
- Dress Up Accessories
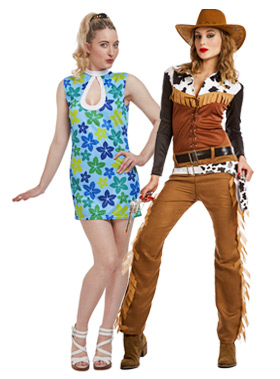
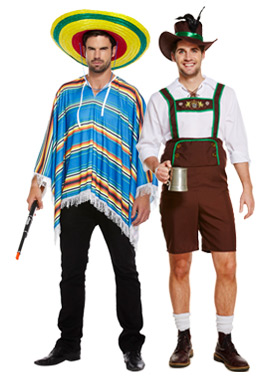
- Costumes & Wigs
- Party Supplies
- Decorations & Party Themes
- Bakeware
- Home & Everyday
- Arts & Craft
- Custom Printing
- Balloons & Helium
Party Essentials
FUN & GAMES
Party Favours
Event accessories
Party Celebrations
Edibles
Party Decorations
Party Theme Supplies
Special Occasions
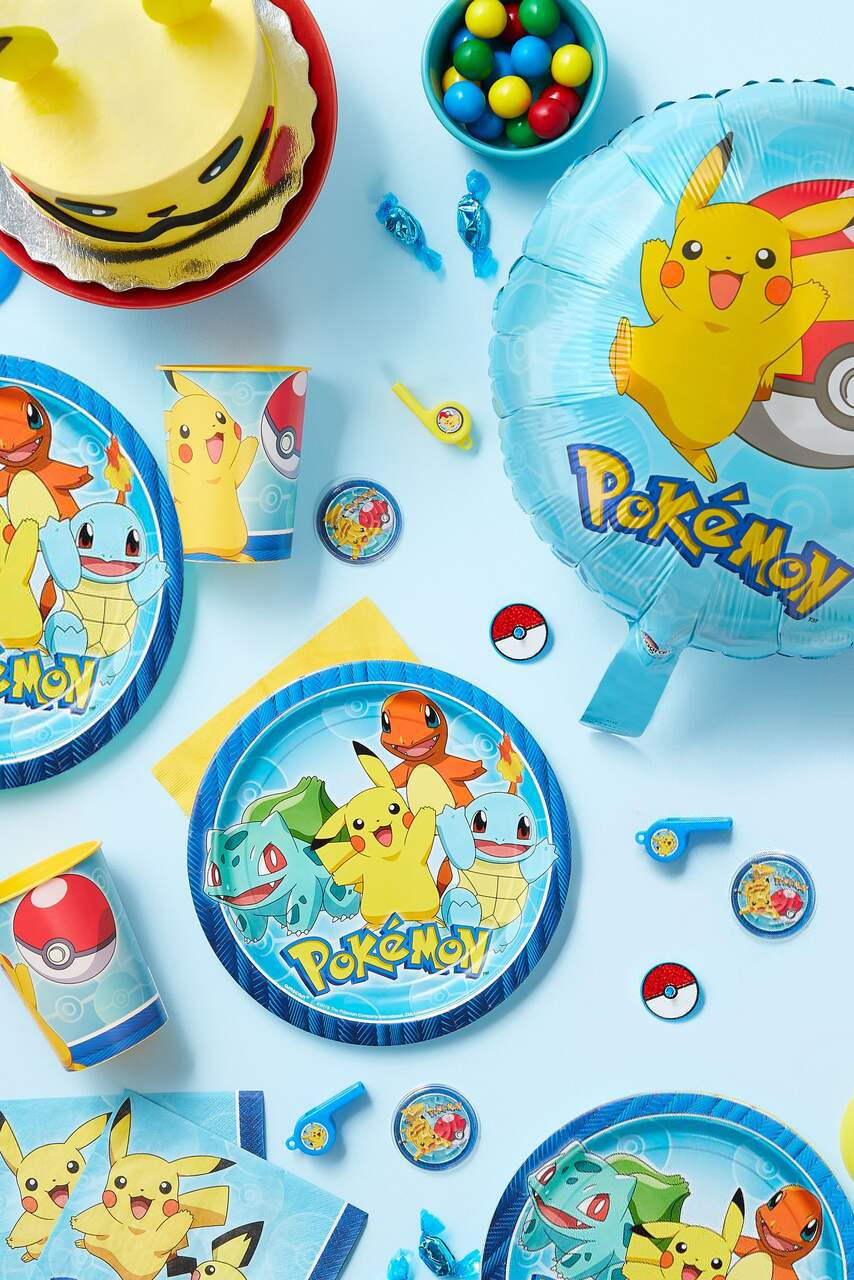
MORE KIDS Party Theme
Icing Colours
Sprinkles & Glitter
Fondant
Cake Toppers
Baking Tools
Pans & Trays
cutters
baking cups
Baking Boxes
Personal Care
Pet Care
Healthcare Essentials
Cleaning Products
Laundry
Everyday essentials
Winter Accessories
Kitchen & Dinning
Home & Gardening
Home Fragrance
decorative signs
BBQ & Accessories
Outdoors
Craft Supplies
Paper Crafts
Art Supplies
Wearable Prints
Balloon Bouquets
Balloon Decorations